
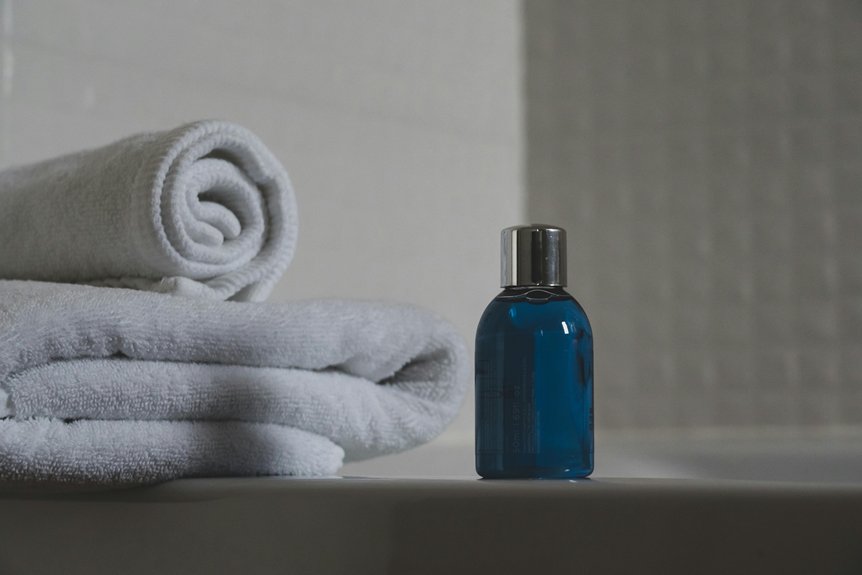
I’ve ditched my bathroom’s crumpled-towel aesthetic with five straightforward techniques: ribbon loop trim, pleated fabric edges, fabric yo-yo rosettes, button-ribbon borders, and decorative binding.
The key? Prewashing your towels first—skip this and your embellishments peel off like old stickers.
Whether you sew or glue (industrial adhesive only, please), the difference comes when you display them on open shelving instead of jamming them in cabinets.
Stack, roll, alternate patterns—suddenly your towels aren’t just functional, they’re décor.
Want the full breakdown?
Prep Your Towels for Decorating
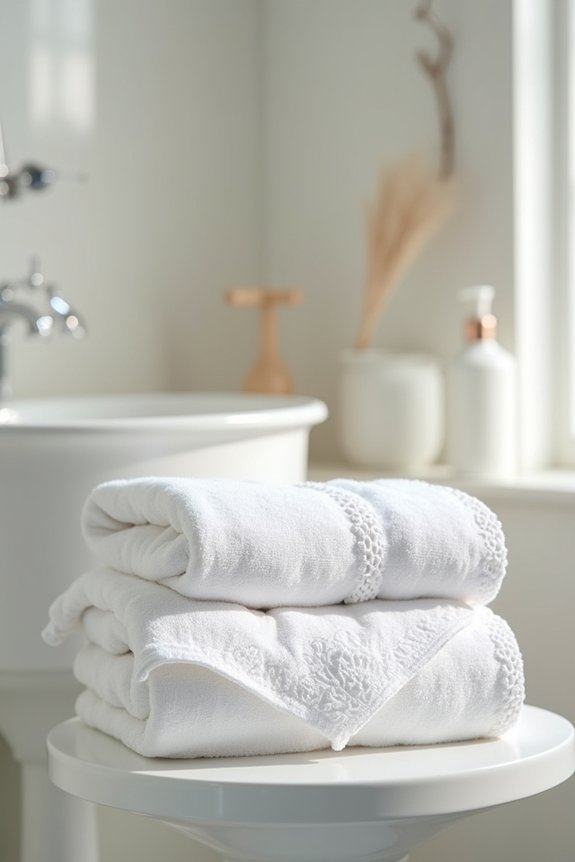
Before you attach a cute monogram or fabric flower onto your towels—and I’ve made this mistake before by decorating first without preparation—you need to wash them. Here’s why: new towels come coated with manufacturing residue that will ruin your decoration plans faster than a ketchup stain at a Chuck E. Cheese birthday party. A prewash removes that coating, allowing your towels to shrink properly. This matters because unwashed fabric puckers after you’ve attached embellishments—nothing says “I made this myself” like wavy ribbons and wonky monograms.
Prewashing gives you consistent sizing and helps your decorations lay flat and stay put through countless laundering cycles. Your future self—the one frantically unsticking peeling appliqués before guests arrive—will appreciate you for taking this one simple step.
Explore 5 Decorative Trim Ideas
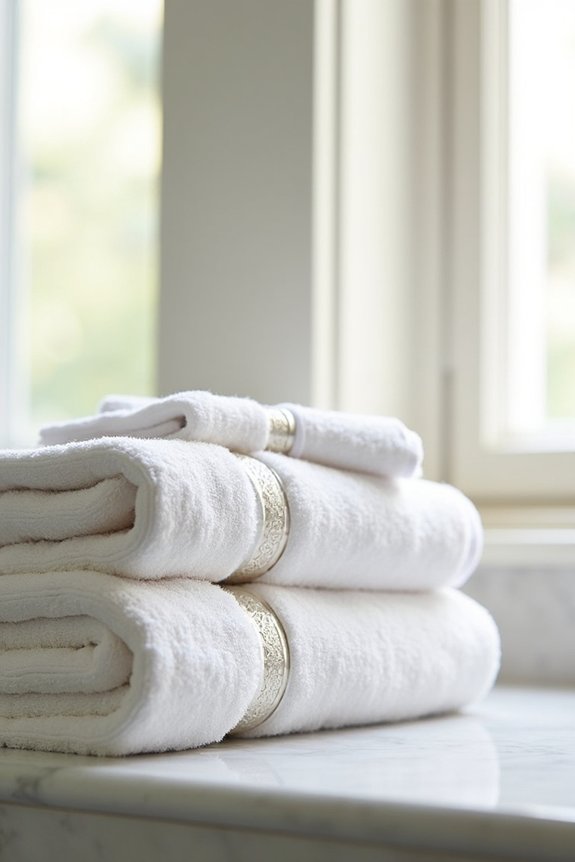
Now that your towels are prewashed and ready for action, it’s time to stop pretending you’re going to hand-embroider delicate flowers (we both know that’s not happening) and grab some trim instead. I’ve discovered that decorative trim ideas give basic towels visual interest—no artistic talent required.
Stop pretending you’ll hand-embroider. Grab decorative trim instead—visual interest without the artistic talent guilt.
Here’s what works:
- Ribbon Loop Trim — fold ribbon halves into structured loops for polished edges
- Pleated Trim — use triple-length fabric, fold into texture, maybe add beads because we’re fancy now
- Fabric Yo-Yo Rosette Trim — gather fabric circles into playful rosettes that hide ketchup stains better than solid colors
- Button Ribbon Trim — hot glue buttons along ribbon for tactile borders that actually look intentional
These techniques deliver professional results without the guilt of abandoned embroidery floss.
Choose Sewing or Gluing for Your Method
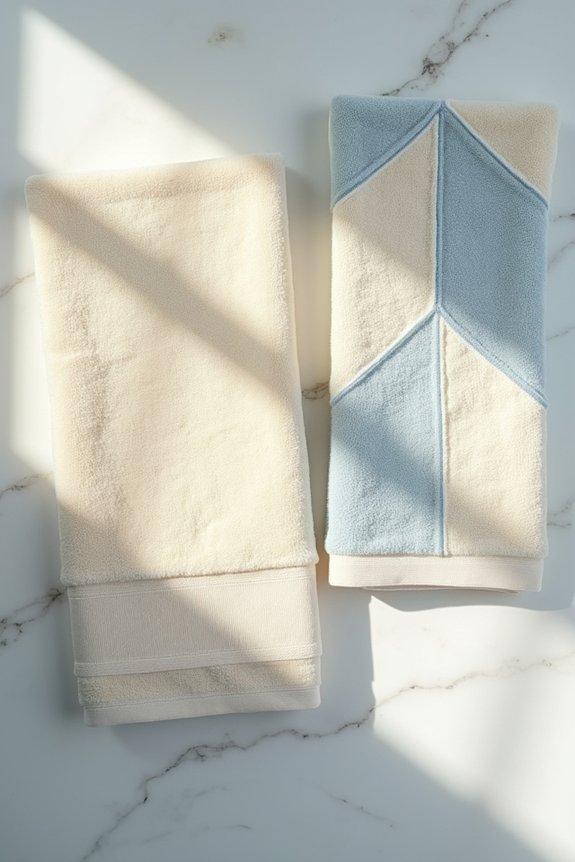
The adhesive has to outlast the towel’s lifespan, meaning you’re not gambling on a flimsy attachment. I’ve learned this the hard way—watching buttons pop off mid-wash like tiny fabric grenades. Here’s the thing: sewing offers permanence. You determine ribbon width, finish edges properly, and center everything on woven sections. It’s tedious, sure, but it works. Glue-based attachment works too, though you’ll want industrial-strength fabric adhesive that survives laundering. I once used regular craft glue. Spoiler alert: it didn’t. Pre-wash your towel first—shrinkage’s a real party crasher—then attach embellishments when everything’s settled. Whether you sew or glue, this attachment decision determines whether your towels last or end up resembling casualties from a ketchup incident.
Finish Decorative Edges With 3 Methods
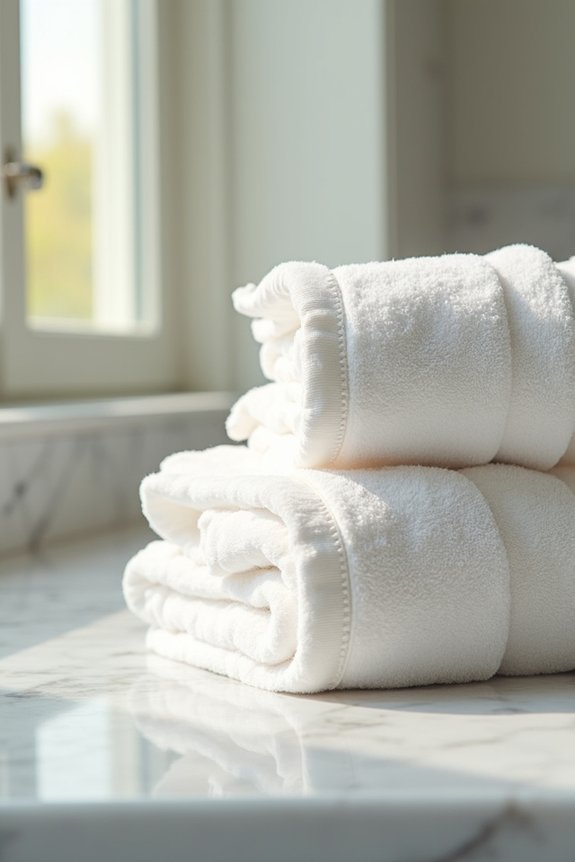
How many times have you admired a towel at a boutique hotel, only to notice the edges are finished so cleanly that they’d survive a toddler’s determined unraveling?
I’ve spent embarrassing hours unraveling my own bathroom towels—turns out, professional finishing isn’t magic. Here’s what separates boutique-quality towels from my ketchup-stained disasters:
- Hem Finish folds the end under and creates a vertical seam that actually prevents fraying
- Wrap Around binds edges with fabric or ribbon, folding under for seamless fronts
- One-Piece Coverage uses a single long piece across both sides, hiding stitches beautifully
- Back-Side Attachment hides your wonky stitching—the designer’s covert approach
Combining Edge Finishing Variants prevents puckering during laundering. Honestly? I’m joining the boutique towel club. My kids’ Chuck E. Cheese cups don’t deserve my best efforts anyway.
Display and Style Your Decorated Towels
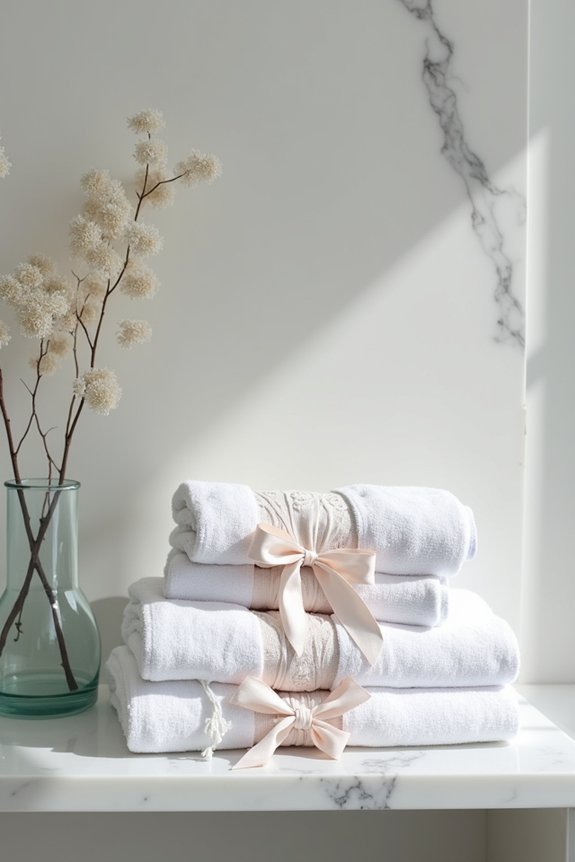
Bathroom styling’s dirty secret? Your decorated towels deserve better than crumpled heaps. I’ve learned that display turns ordinary textiles into design statements—and honestly, it’s saved my sanity.
I fold mine in thirds lengthwise, then stack them on open shelving like I’m running some chic resort instead of a house where my kids leave ketchup on everything. Decorative hooks and wall-mounted ladders maximize vertical space while alternating solid and patterned towels create visual rhythm. No monotony allowed.
My favorite move? Rolling towels tightly, nesting them upright in seagrass baskets with ends facing up. Suddenly I’m not just storing laundry—I’m organizing with purpose. Pair these with candles and soap on wooden caddies, and you’ve got vignettes that look composed. We both know maintaining it takes effort, but it looks great.