I’ve learned the hard way—after watching my mom operate like a kitchen ninja while I’m basically doing laps—that efficiency hinges on the work triangle: fridge, sink, stove.
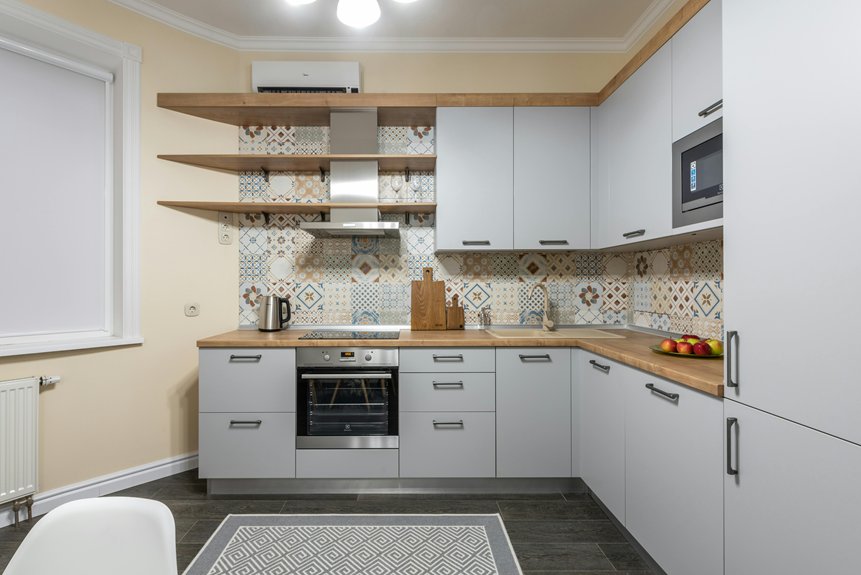
Galley layouts work well for solo cooks; L-shaped designs suit medium spaces; U-shaped provides excellent storage capacity.
But here’s what matters: placing appliances on walls means nothing if they don’t match *your* actual cooking patterns.
The real benefit comes when you stop fighting your layout and start designing around how you actually move through the kitchen.
The Work Triangle: Measure Your Kitchen Layout’s Efficiency
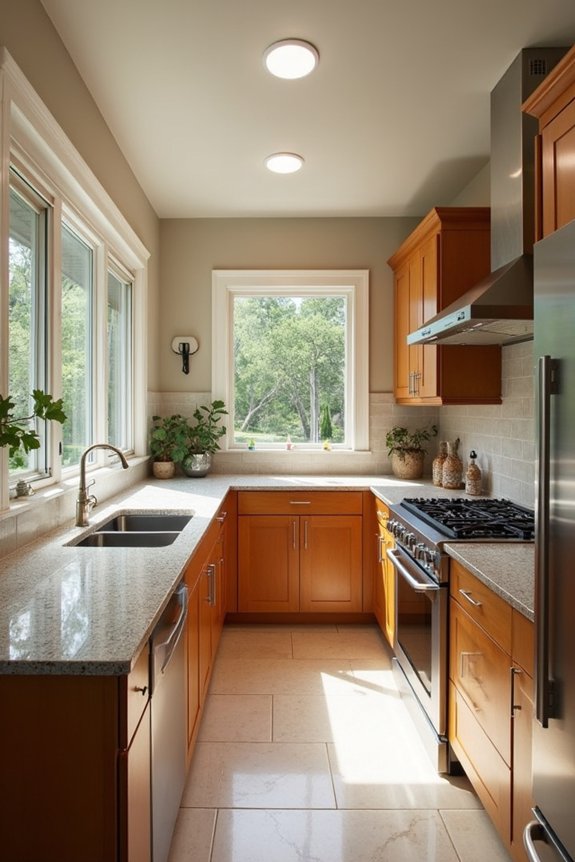
When I first heard about the “work triangle,” I imagined some mystical feng shui concept—turns out it’s just common sense wearing a geometry costume. The work triangle connects your refrigerator, sink, and stove, and honestly, it’s genius in its simplicity. I measured mine once; the distances felt reasonable until I realized I was actually sprinting between appliances like some deranged kitchen olympian. A balanced kitchen layout minimizes walking, preserves counter space, and makes your workflow more intentional. Your layout performance depends on this triangle’s proportions—not too sprawling, not cramped. Even modern kitchens breaking traditional rules benefit from understanding these principles. Position your dishwasher and prep areas nearby, and suddenly you’re not that person frantically wiping ketchup off while guests arrive. Efficiency isn’t flashy, but it works.
One-Wall Kitchens: Maximizing Function in Tight Spaces
I’ll be honest—when I first toured a one-wall kitchen, I thought it was a design compromise for people who’d given up, but then I realized I was just jealous of how efficiently they’d crammed a fridge, stove, and sink into what looked like a shoebox. Here’s the thing: space planning, appliance placement, and storage solutions aren’t optional luxuries in this layout; they’re what separates a functional galley from a kitchen where you’re perpetually blocking someone’s path to the fridge. We’re talking about turning a straight line into a legitimate cooking station—no triangle, no drama, just smart choices about where everything goes and how you’ll actually move through it without knocking over last night’s coffee.
Space Planning Essentials
How do you cook a decent meal when your kitchen’s basically a hallway with delusions of grandeur? You prioritize ruthlessly. I’ve learned that space planning in one-wall kitchens demands strategic thinking—your working triangle collapses into a straight line, sure, but that’s actually liberating. You stop pretending you’ll organize like Martha Stewart and accept reality: counter space is sacred, storage optimization isn’t optional, and your kitchen layout must function properly.
I maximize every inch with floating shelves, a rolling cart island, and slimmer appliances. The open-concept advantage? Your living room doesn’t judge your burnt toast. Designers emphasize this: unobstructed counter space between your sink, stove, and fridge matters more than looks. When you’re working in constraints, intentionality trumps square footage.
Appliance Placement Strategy
Strategic appliance placement is where one-wall kitchens stop being theoretical puzzles and start actually working—or don’t, depending on whether you’ve lined up your sink, dishwasher, rangetop, and fridge like soldiers at attention. I learned this the hard way, shuffling between my stove and sink like I was auditioning for a cooking show nobody asked for. The trick? Cluster your major appliances close together along that single wall, preserving precious counter real estate where you’ll actually prep food instead of stacking mail and mysterious Chuck E. Cheese cups. This compact kitchen strategy streamlines your working triangle—no wasted steps, no theatrical pivoting. When appliances sit strategically, storage optimization follows naturally, making your one-wall layout genuinely efficient rather than just theoretically sound.
Workflow and Storage Solutions
Once you’ve got your appliances planted in their proper spots, the real challenge emerges: where the hell does everything else go? In a one-wall kitchen, storage optimization isn’t optional—it’s survival. I’ve learned this the hard way, cramming orphaned Chuck E. Cheese cups beside actual dinnerware.
Here’s what actually works: open shelving keeps your workflow visible and accessible, eliminating the treasure hunt every time you need a spatula. A rolling cart island slides in when you need extra counter space, then vanishes when your in-laws visit. Floating shelves above the sink maximize vertical real estate without cluttering your work triangle.
Compact appliances and pot racks free up precious cabinet space. The goal? Create breathing room along that single wall. Your kitchen shouldn’t feel like a game of Tetris.
Galley Kitchens: Why Parallel Walls Work for Narrow Homes
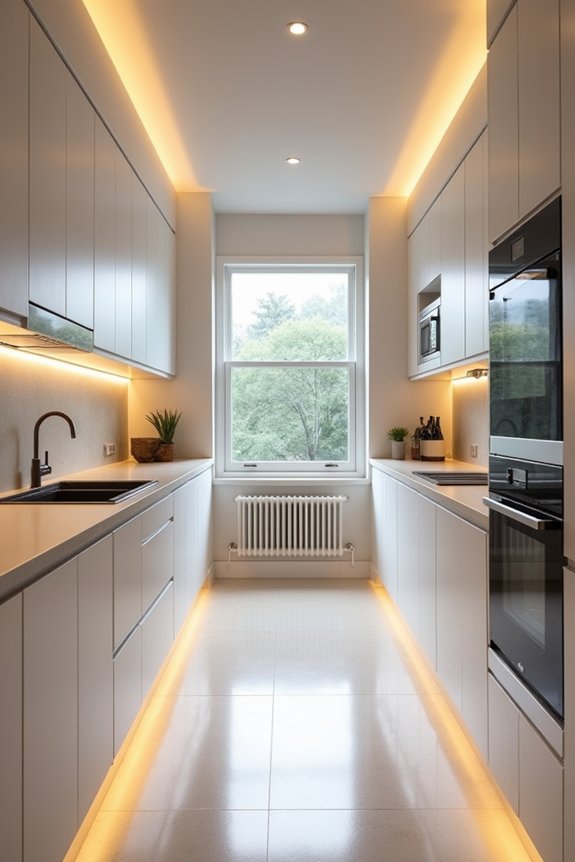
Why do galley kitchens feel like the practical choice until you’re actually cooking in one—squeezing past your partner while holding a hot pan, wondering if you’ve made a terrible mistake? Here’s the thing: they work well for narrow spaces. The parallel walls create a natural work triangle, placing your hob opposite the sink and reducing steps between tasks. Maintaining a 4-foot walkway width prevents that claustrophobic, submarine-kitchen sensation. The design strategy? Tall cabinets on one side, minimal uppers on the other—suddenly the space feels less cramped. Add ample lighting for task areas, and you’ve got an efficient layout that functions well in tight footprints.
L-Shaped Kitchens: Open Flow and Easy Expansion
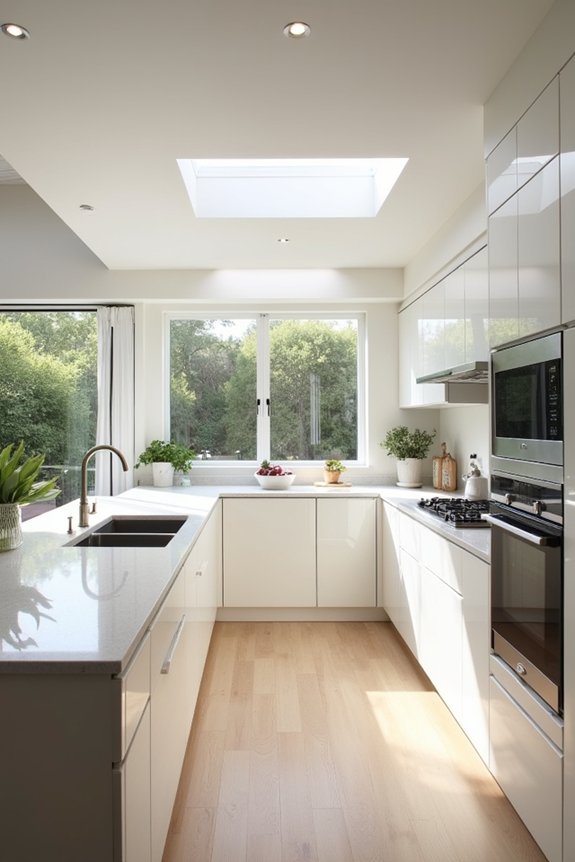
How’d you know an L-shaped kitchen was your answer before you actually needed one? I didn’t—until my mom’s open flow design made me realize I’d been living in a culinary closet. L-shaped kitchens use two adjacent walls, creating distinct prep, cooking, and cleaning zones without that suffocating galley vibe. The work triangle keeps your refrigerator and range strategically opposite, streamlining workflow like you’re not perpetually chasing Chuck E. Cheese cups across countertops. What I envied most? Corner optimization. Those lazy Susans and pull-out organizers maximize storage without cluttering everything, plus you can add an island for expansion. Designers call it “traffic-friendly”—I call it finally having somewhere to hide the ketchup-stained fabric.
U-Shaped Kitchens: Storage and Multi-Cook Workflow
If the L-shaped kitchen felt spacious, the U-shaped version gives you three walls instead of two, meaning you’ve actually got room to breathe and store things that aren’t shoved into the back corner gathering dust. I’m talking serious upper and lower cabinetry wrapping around your cooking zone, plus a proper work triangle with the refrigerator and range on opposite ends, sink centered. Multiple cooks can actually exist here without elbowing each other like we’re fighting over the last chicken nugget at Chuck E. Cheese. Your storage multiplies, your workflow improves, and that small-appliance “garage” hides the bread maker you swore you’d use. Skip the island in smaller spaces though—you’ll be better off when you’re not performing kitchen Tetris nightly.
Islands and Peninsulas: Add Workspace and Social Function
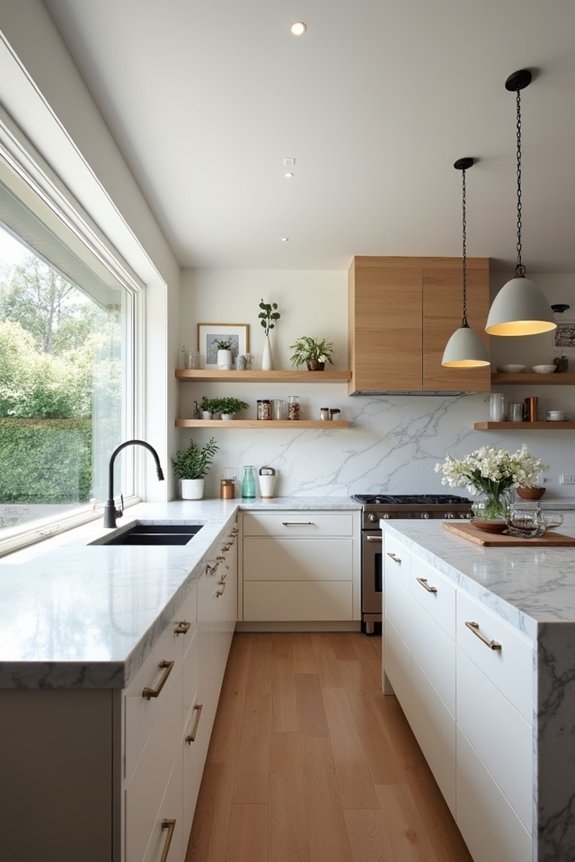
I’ve spent enough time squeezing between my kitchen’s cramped corners to know that islands and peninsulas aren’t just fancy add-ons—they’re the difference between efficiently prepping dinner and knocking over a Chuck E. Cheese cup of orange juice while my kids watch, amused. An island can anchor your workflow and create a social hub where everyone congregates (though it’ll also block half your kitchen if you’re not careful), while a peninsula offers the practical compromise: extra counter space and seating without the full commitment, bending naturally into U or L-shaped layouts so your work triangle doesn’t collapse like my sourdough starter. The real trick—and where I’ve definitely fumbled—is positioning either one thoughtfully enough that traffic flows smoothly rather than turning your kitchen into a chaotic obstacle course where storage and social function actually coexist instead of just competing for the same six square feet.
Island Workflow and Efficiency
Why do islands feel like the culinary equivalent of that one popular kid who somehow makes everything work? They’re not—but I desperately wanted to believe mine would be.
The truth? Island workflow depends entirely on what you’re doing there. Plop your hob on the island, and you’ve basically turned your kitchen into a revolving door where nobody knows where they’re going. Your work triangle collapses. People shuffle around you while you’re flipping pancakes. It’s chaos masquerading as charm.
| Island Feature | The Promise | The Reality |
|---|---|---|
| Breakfast bar overhang | Social gathering spot | Your kids’ ketchup-smeared paradise |
| Island counter space | Extra prep zone | Magazine storage graveyard |
| Hob placement | Central cooking hub | Traffic jam nightmare |
For open-concept efficiency, islands work best when they’re prep stations—not cooking centers. Keep your work triangle intact, align finishes with dining areas, and you’ll actually move through that kitchen with purpose.
Peninsula Design Flexibility
Where islands promise social nirvana but deliver gridlock, peninsulas slip in through the side door like the friend who actually shows up when they say they will. I’ve learned that peninsula design offers something islands can’t: flexibility without the chaos. You get that extra counter space and seating options without turning your kitchen into a thoroughfare for everyone’s Chuck E. Cheese cups. The work triangle operates at peak efficiency when you align it strategically—sink here, cooking there, prep zone flowing naturally between them. Your open kitchen layout functions properly instead of becoming congested. Traffic patterns still demand respect, but you’re not sacrificing your entire layout for it. Peninsulas deliver the zone-defining efficiency I craved without feeling like I’m hosting a permanent kitchen convention.
Social Seating and Storage
Now here’s where islands and peninsulas actually earn their keep: they’re not just about chopping vegetables in isolation—they’re about creating a space where you can cook while your kid does homework, your partner raids the fridge, and someone’s vaguely supervising the pasta so it doesn’t boil over into a starchy volcano. I’ve learned that a well-designed island or peninsula with proper seating makes your workflow more inclusive and connected. You’re prepping dinner while maintaining eye contact, managing chaos, and honestly—keeping tabs on whether anyone’s sneaking cookies before dinner.
The bonus? Hidden storage beneath seating hides those Chuck E. Cheese cups and mystery Tupperware. Your kitchen becomes the hub where belonging happens, not just where meals get made behind closed doors.
Match Your Layout to Space Size and Cook Count
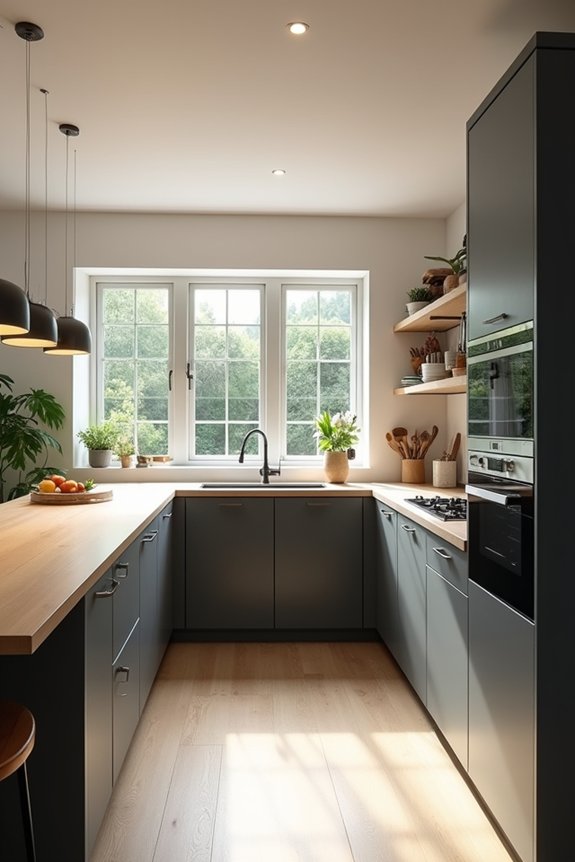
How you cook—and how many people you’re cooking *for*—should dictate your kitchen’s bones, not the other way around.
I learned this the hard way when I crammed a galley layout into a space that needed one-wall simplicity. Here’s what actually works:
| Space Size | Best Layout |
|---|---|
| Tiny/Open | One-wall |
| Small-Medium | Galley |
| Medium-Large | L-shaped |
| Large | U-shaped |
Solo cooks thrive in galley kitchens—that central walkway keeps everything within arm’s reach. Multiple cooks? You’ll want an L-shaped design’s work triangle and storage, avoiding the collision course that’s my Tuesday nights. Space dictates efficiency. Your cooking style demands it. Ignore either, and you’re reorganizing cabinets while your kids leave Chuck E. Cheese cups everywhere anyway.
Appliance Positioning: Optimize Your Work Triangle
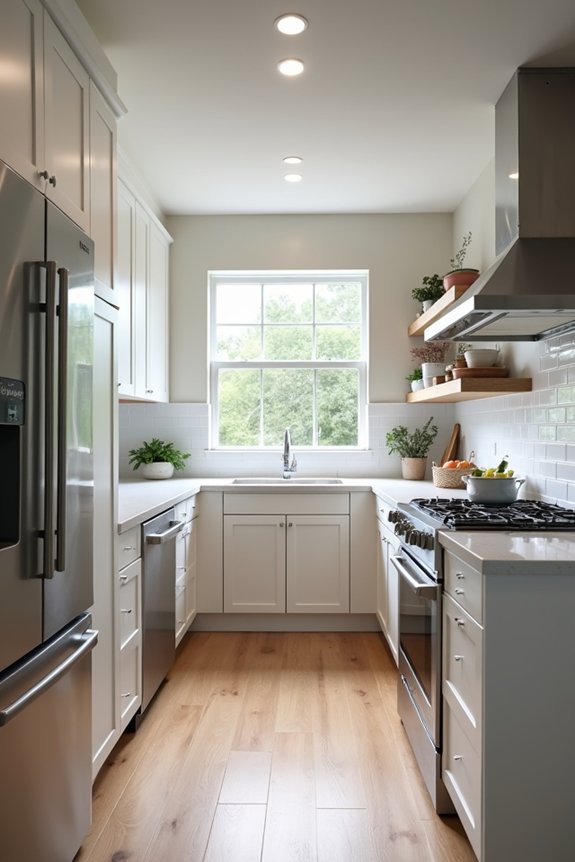
I’ve learned the hard way—after watching my mom frantically shuttle between a fridge stuck in one corner and a stove practically in another—that the work triangle isn’t just designer jargon, it’s a practical strategy. When I finally positioned my appliances with the sink anchoring the center and my range and fridge on opposite ends, I actually saved steps instead of performing kitchen gymnastics while holding a hot pan and mentally calculating whether I’d left the dishwasher running. These three fundamentals—essential appliance placement, work triangle efficiency, and solid layout planning—turn what feels like chaos (my first kitchen felt like a Chuck E. Cheese obstacle course) into a space that actually functions.
Essential Appliance Placement
Where’d all your steps go during dinner prep? I’ve learned the hard way that your kitchen work triangle—that magical zone connecting fridge, sink, and range—determines whether you’re gracefully plating or sprinting like you’re late for Chuck E. Cheese. Smart appliance placement means positioning these workstations strategically. In U-shaped kitchens, I’ve discovered placing the fridge and cooktop at opposite ends minimizes wasted steps. For tighter spaces, clustering everything creates a compact, efficient hub. If you’re considering an island layout, resist the temptation unless it genuinely balances traffic flow and work zones. The sink bridges your refrigerator and range beautifully, becoming your command center. Strategic positioning makes dinner prep from chaotic scrambling into something organized and functional.
Work Triangle Efficiency
Before you start tearing out cabinets or spending your kids’ college fund on a kitchen remodel, let’s talk about the work triangle—that invisible three-point zone connecting your fridge, sink, and stove that basically determines whether you’ll actually enjoy cooking or spend dinner prep frantically zigzagging like you’re maneuvering an obstacle course.
Here’s what actually works:
- Position your sink centrally between the refrigerator and range—this hub becomes your command center for workflow efficiency
- Keep counter space open within the triangle so you’re not prepping on top of yesterday’s mail and Chuck E. Cheese cups
- Verify clear pathways between zones to eliminate those chaotic three-step detours that make you question your life choices
The work triangle isn’t rigid dogma—it’s your kitchen’s backbone, allowing you to move with purpose rather than desperately scrambling from one end to the other.
Layout Planning Fundamentals
Now that you’ve got the work triangle concept locked in your brain, let’s talk about actually making it work—because understanding the theory and executing it without ending up with your oven blocking access to your fridge are two wildly different things.
| Zone | Best Position | Why It Matters |
|---|---|---|
| Prep | Near sink | Water access cuts steps |
| Cooking | Away from fridge | Heat won’t spoil food |
| Cleanup | Sink + dishwasher together | Streamlines post-dinner chaos |
Smart appliance placement makes your kitchen layout a functional workflow instead of a frustrating obstacle course. Position your sink between the fridge and cooktop, keeping prep to cleanup zones within arm’s reach. This work zones proximity means you’re not sprinting across the kitchen like you’ve forgotten something. Designer Patricia Urquiola nails it: “Every step saved is mental energy reclaimed.” Your future self—the one elbow-deep in dinner prep—will appreciate the efficiency.
Plan Your Layout Around Your Cooking Habits
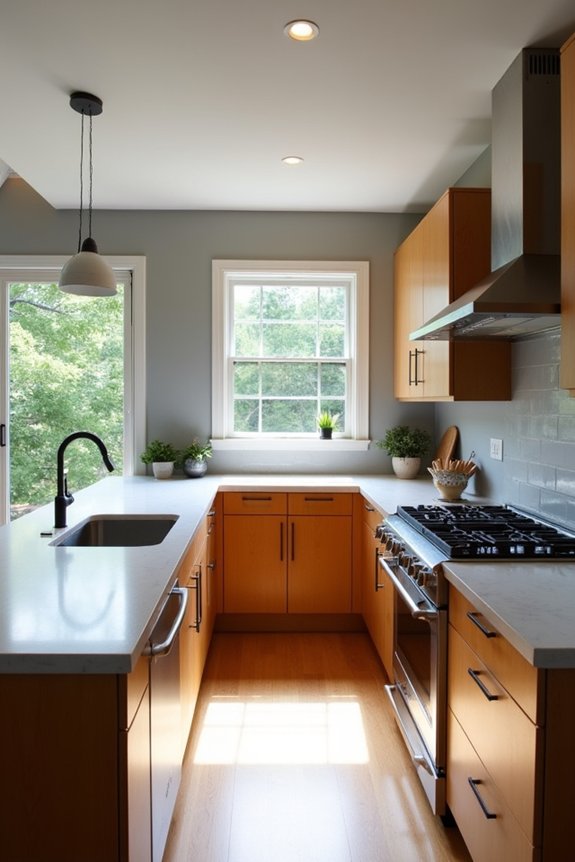
How many times have you sprinted across your kitchen like you’re competing in some deranged Olympic event—spatula in one hand, a colander in the other, your mom’s voice echoing in your head about “efficiency”?
Here’s the thing: your kitchen layout should match how you actually cook, not some designer’s fantasy. I’m talking about real workflow efficiency that doesn’t leave you swearing at cabinet placement.
- Position your working triangle—sink, range, fridge—close together so you’re not trekking cross-country between stations
- Create distinct zones for prepping, cooking, and cleanup to minimize backtracking chaos
- Keep storage organization intuitive by placing cookware near the stove and frequently-used items at eye level
When your kitchen layout stops fighting you, cooking feels less like a punishment and more like something you’ll actually want to do.
Next Steps: From Layout Selection to Renovation Reality
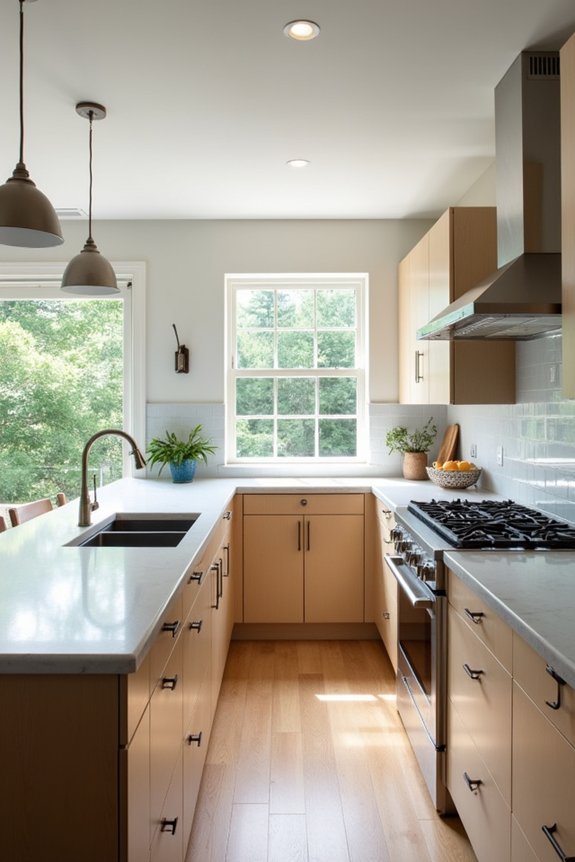
Once you’ve got your layout locked down—sink, range, and fridge playing nice together in that coveted working triangle—you’re ready to stop daydreaming and actually make this thing happen. Now comes the collaboration part, and I won’t lie, it’s where things get real. You’ll spend roughly two months hammering out details with designers, refining those four zones—prepping, cooking, clean-up, putting away—until your workflow actually makes sense. This isn’t glamorous. You’re measuring cabinet heights, debating pull-out shelves versus drawers, deciding where your Costco paper towels actually belong. Your designer keeps saying “accessibility minimizes movement,” which sounds simple until you’re arranging storage at 11 PM, wondering why this feels harder than parenting. But here’s the thing: nailing these practical decisions now? That’s what separates functional kitchens from ones that look good but don’t work.