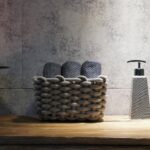
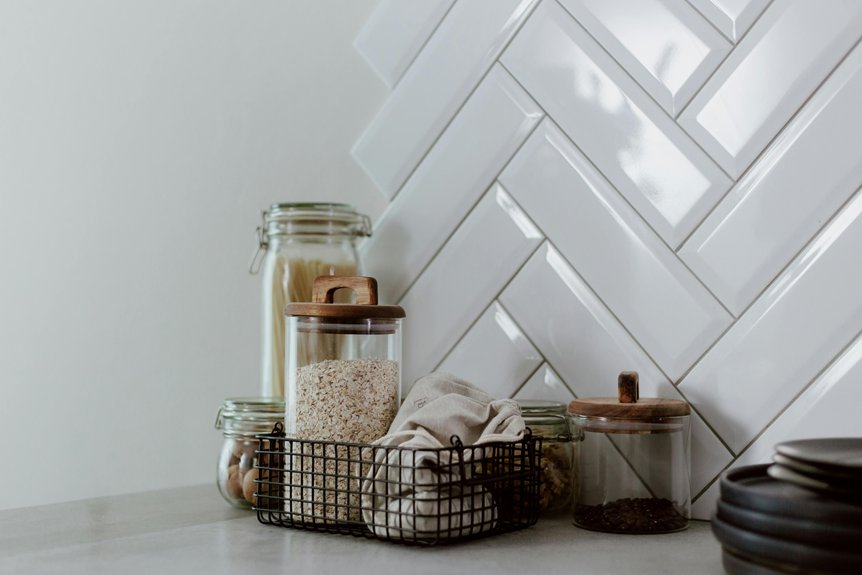
designers don’t actually live differently—they just hide better. Start by clearing your counters entirely, then corral daily essentials on purposeful trays grouped by zone (stove-side oils, sink-side soaps). Hide rarely used appliances. Arrange decor in odd numbers using varied heights and textures. Maximize wall space with rails and shelving instead of cramming everything horizontally. Finally, refresh seasonally with subtle palette shifts—warm woods for autumn, crisp whites for spring. The result is intentional breathing room that communicates organization and control instead of clutter.
Start by Clearing Your Kitchen Counters
Before you can style anything, you’ve got to face the truth: your counters are probably holding hostages. I know mine were—hidden under Chuck E. Cheese cups and mysterious mail stacks. Here’s what I’ve learned: decluttering comes first, styling comes later.
Decluttering comes first, styling comes later—your counters are probably holding hostages anyway.
Start by removing everything. Yes, everything. That ketchup-stained spatula, those expired coupons, those decorative bowls you never use. This brutal honesty reveals what actually belongs there versus what’s just… camping.
Once bare, clean thoroughly. Wipe down that sticky film. You’ll notice the difference—suddenly, your countertops aren’t just surfaces; they’re possibilities.
Next, create dedicated storage off the counters for daily clutter. Keys, papers, mail—they need homes elsewhere. Designers know this: styling requires room to breathe. Your counters should invite you in, not overwhelm you.
Corral Daily Essentials on Purposeful Trays
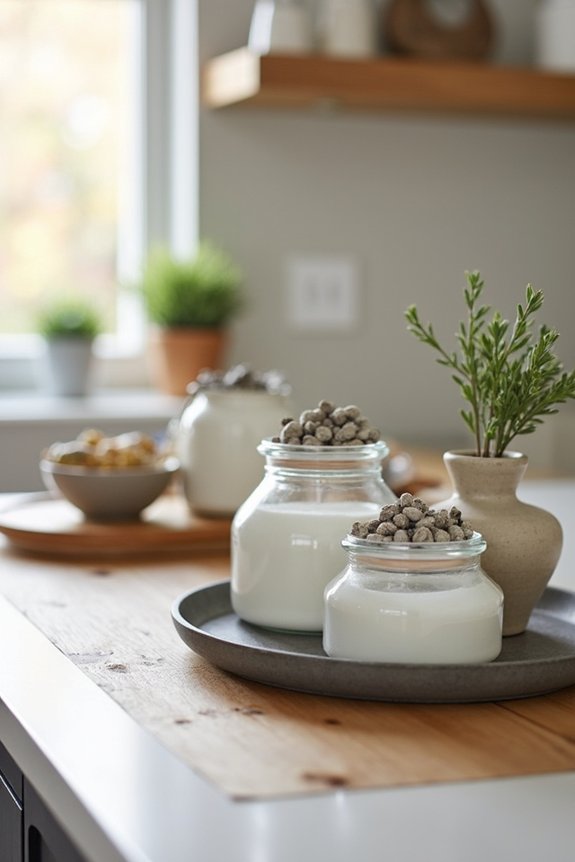
Now here’s where trays actually work—they’re the bouncers of your countertop, deciding what stays visible and what gets hidden away. I group my daily essentials by zone: stove-side holds salt, pepper, oils; sink-side corrals sponges and soap. Your countertops stop looking like a ketchup-stained crime scene.
Pick materials that fit your space—wood, marble, metal—whatever works with what you have. Round trays feel soft and approachable; rectangular ones anchor structure. Position them strategically to support your actual routine, not some imaginary version where you’re perpetually organized.
On bigger islands, stack flowers, glassware, plates on one tray. Suddenly it’s decor and organization at once. It works, it looks intentional, and nobody’s disappointed.
Hide Appliances to Free Kitchen Counter Space
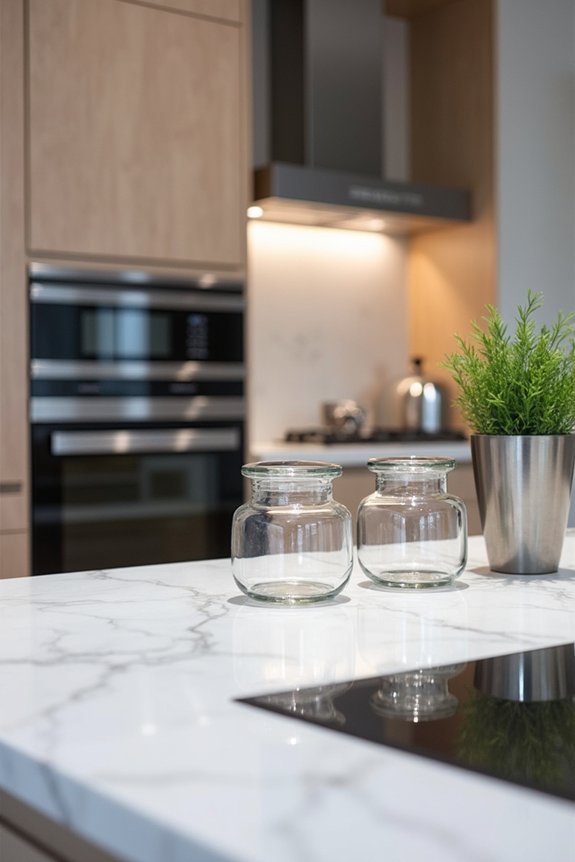
I used to think my countertop was a museum exhibit for small appliances—a waffle maker here, a rice cooker there, a bread machine gathering dust like some kitchen artifact—until I realized I was literally creating the visual chaos I complained about while scrolling Instagram at my designer friends’ pristine kitchens. The truth is, I only use maybe three things daily (okay, four if you count the coffee maker, which basically qualifies as life support), so everything else—the blender, the stand mixer, the contraption I bought after watching one viral TikTok—could vanish into a closet, garage, or pantry without sacrificing actual function. Strategic relocation isn’t just about shoving stuff out of sight like crumbs under a couch; it’s about choosing what earns real estate on your counters and banishing the rest, which has made my kitchen look deliberate rather than like the aftermath of a cooking show explosion.
Daily-Use Appliances Only
Why do we treat our kitchen counters like an appliance graveyard? I used to have a waffle maker, bread machine, and juicer competing for real estate. Designer Nate Berkus says, “Your kitchen should breathe,” and mine was suffocating.
Here’s my reality check:
| Appliance | Keep Out? | New Home |
|---|---|---|
| Coffee maker | Yes | Counter |
| Toaster | Yes | Counter |
| Bread machine | No | Garage |
| Juicer | No | Pantry |
I ditched the knife block too—swapped it for a knife drawer insert. Now my counters showcase only what I actually use daily. That pasta maker gathering dust? Gone. The decluttering felt radical, honestly—like admitting defeat to minimalism. But watching my prep space expand and my anxiety shrink? That’s what everyone’s after. Fewer items, more freedom.
Strategic Relocation Solutions
Start with knife storage: ditch that bulky block taking up prime counter space. A drawer insert reclaims serious organization room while keeping blades accessible. Next, corral your essentials using trays and boards. Group your coffee maker, utensil holder, and oil bottle into defined zones—suddenly you’re not drowning in visual clutter.
Relocate seasonal appliances to your pantry, garage, or closet. That bread maker you swear you’ll use? Banished. Designer Annie Schlee calls this “intentional invisibility”—keeping only what actually earns its counter space daily. Your sanity will thank you.
Layer Heights and Textures on Your Counters
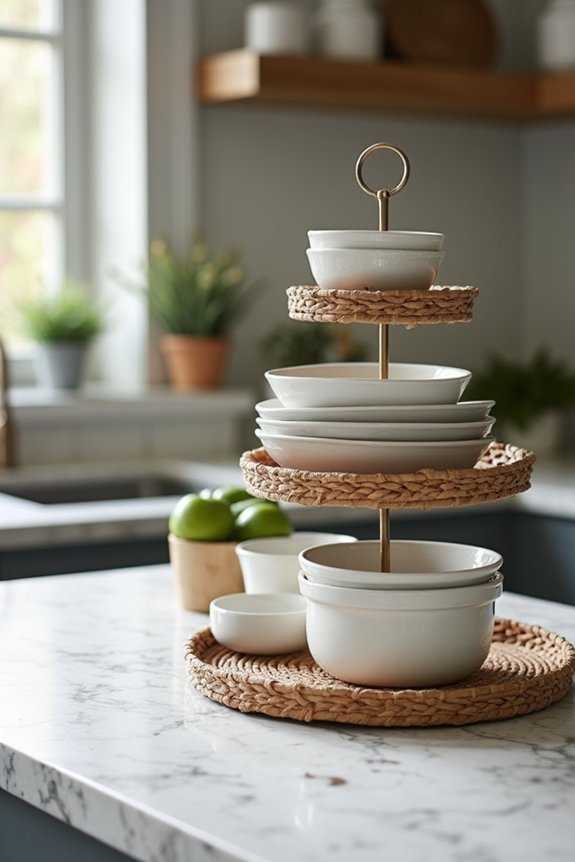
When your kitchen counter looks like a pancake—everything flattened at eye level, creating what I call the “IKEA showroom during a clearance sale” effect—you’ve got a problem. I learned this the hard way, staring at my lineup of identical jars like they were troops awaiting orders.
Here’s the fix: layer heights and textures intentionally. I group odd numbers—three marble canisters, two wooden bowls, one tall vase—creating vignettes that actually feel designed rather than abandoned. Varying elevations with upright cookbooks and shorter jars draws your eye upward, adding vertical accents without clutter. Mix materials: ceramic next to wood next to marble.
The key is making everything functional. That sugar jar isn’t decoration—it’s your bread board’s visual partner. Suddenly, your counter doesn’t scream chaos; it communicates organization and purpose.
Arrange Decor in Odd Numbers for a Styled Look
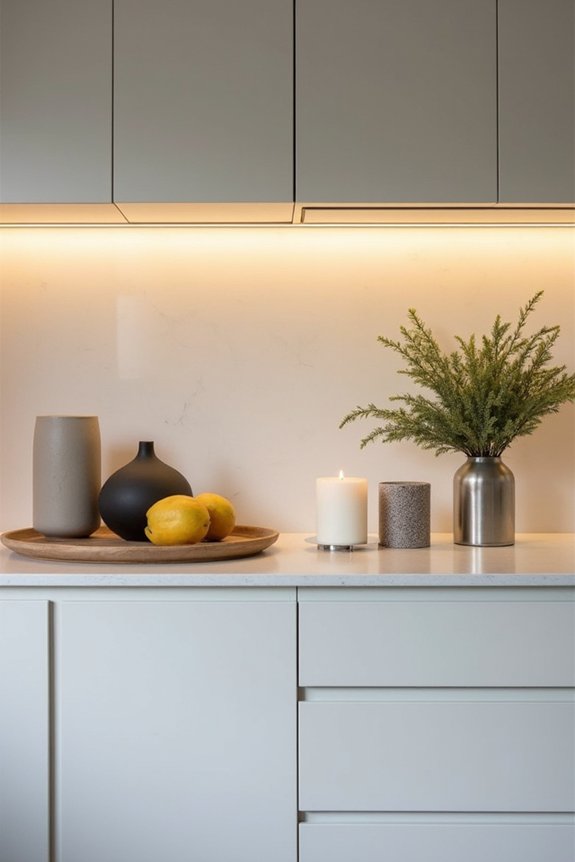
I used to plunk down whatever fit on my counters—a candle, a bowl, a random utensil—until a designer friend gently pointed out that my kitchen looked like a thrift store exploded, and I realized the rule of three actually works: one tall item (a vase), one grounded piece (a cutting board), one sculptural element (a small plant) create a visual rhythm that doesn’t scream chaos. Spacing matters too—I learned I can’t cram all three into one corner like I’m playing kitchen Tetris; positioning them near the backsplash keeps the cooking zone open and prevents that cluttered-shelf energy my mom somehow achieves despite owning seventeen decorative spoons. The benefit is that odd numbers trick your eye into seeing deliberation rather than happenstance, which honestly feels like a designer’s technique when you’re someone whose idea of styling used to involve whatever was clean enough.
The Rule Of Three
Ever notice how designer kitchens look put-together while yours resembles a thrift store explosion? The answer is the Rule of Threes—and it works.
I used to scatter random items everywhere: a candle here, three Chuck E. Cheese cups there, somehow a ketchup bottle front-and-center. Total chaos. But designers use odd-number groupings for counter decor because our brains respond to rhythm without symmetry.
Here’s what works: pair something tall with something grounded and something sculptural. Group like items by color and material for cohesion. Position your trio near the backsplash, breaking up empty space while keeping surfaces actually usable.
That’s it. Three thoughtful pieces beat twelve thoughtless ones every time. It’s the anti-thrift store explosion.
Spacing And Visual Balance
- Leave breathing room between odd-number groupings so your eye can rest
- Vary heights strategically—tall vase, short candle, medium jar—to guide attention naturally
- Position collections near the backsplash to anchor the space without stealing prep real estate
- Mix materials within groups—wood, ceramic, marble—for depth that doesn’t feel crowded
Functional styling meets deliberate placement. You’re not just decorating; you’re creating rhythm. Space itself becomes an element, preventing that chaotic energy where everything competes for attention simultaneously. That’s how designers approach it.
Maximize Wall Space for Storage and Visual Interest
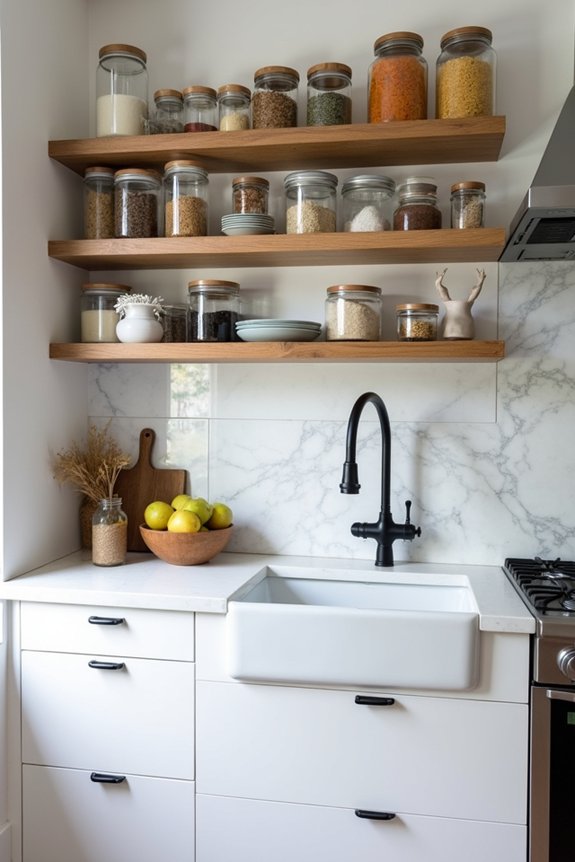
Why do our counters always look like a clearance section at a kitchen store while designers’ kitchens gleam like showrooms? The answer isn’t mysterious—it’s wall space. I used to hoard everything on my countertops: ketchup bottles, Chuck E. Cheese cups, my collection of “maybe useful” gadgets. Then I discovered that vertical display changes everything.
Wall rails worked well in my kitchen. I hung my knives, pots, and frequently grabbed tools on magnetic strips and organized rails, immediately freeing counter real estate. It’s like my counters could breathe again. I added hanging organizers for small items and combined practical shelving with decorative plants and canisters. All of a sudden, my kitchen looked deliberate—designer-level deliberate. Wall space isn’t wasted space; it’s your counter’s best friend.
Refresh Your Kitchen Counter Decor Seasonally
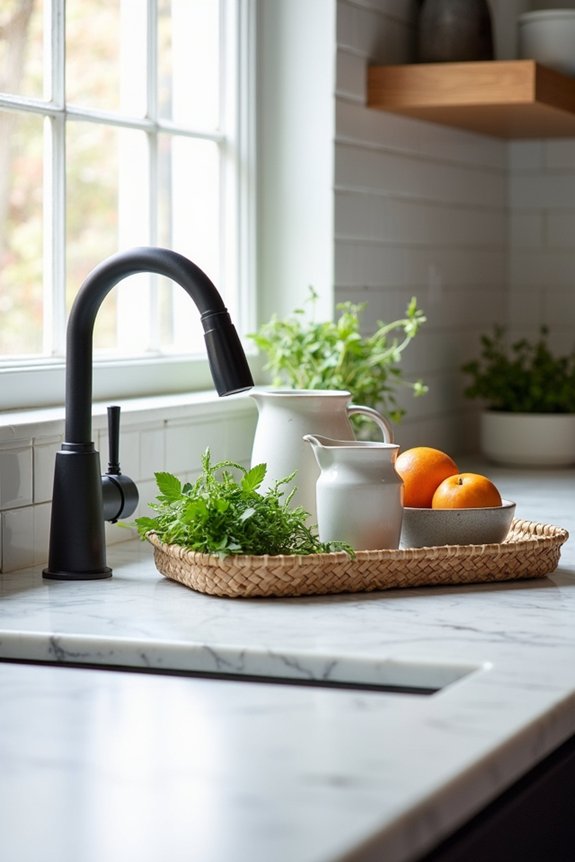
If your kitchen counter’s been wearing the same tired display since March, it’s time to shake things up—and I’m not talking about rearranging your ketchup bottle for the millionth time.
Seasonal decor refreshes your kitchen counters without requiring a full redesign. I rotate pieces quarterly, keeping my palette consistent with existing neutrals while signaling seasonal change. Here’s what works:
- Swap canisters and fruit bowls in colors evoking each season—warm wood tones for autumn, crisp whites for spring
- Add natural elements like branches or fresh greenery for living texture
- Incorporate accent pieces that whisper the time of year rather than scream it
- Maintain your foundation palette to avoid visual clutter
This approach keeps my counters looking deliberate and well-designed, and honestly? Less like a Chuck E. Cheese explosion.