

I spent three months drowning in 247 Pinterest saves—each one a lie I’d never actually execute—before AI tools like RoomsGPT and VisualizeAI let me test a hundred aesthetics in one afternoon instead of spending heavily on a single guess. Upload your living room photo, describe what you want (or exclude what you hate—harsh lighting, chunky hardware), and watch two instant renders materialize. Free tiers let you experiment endlessly; premium unlocks designer presets from Nate Berkus without the pretension. The catch? Textures occasionally look plastic, and proportions hiccup. But iterate fast, start simple, layer refinements conversationally—and suddenly your vision stops being theoretical.
Transform Your Living Room With AI Design Tools
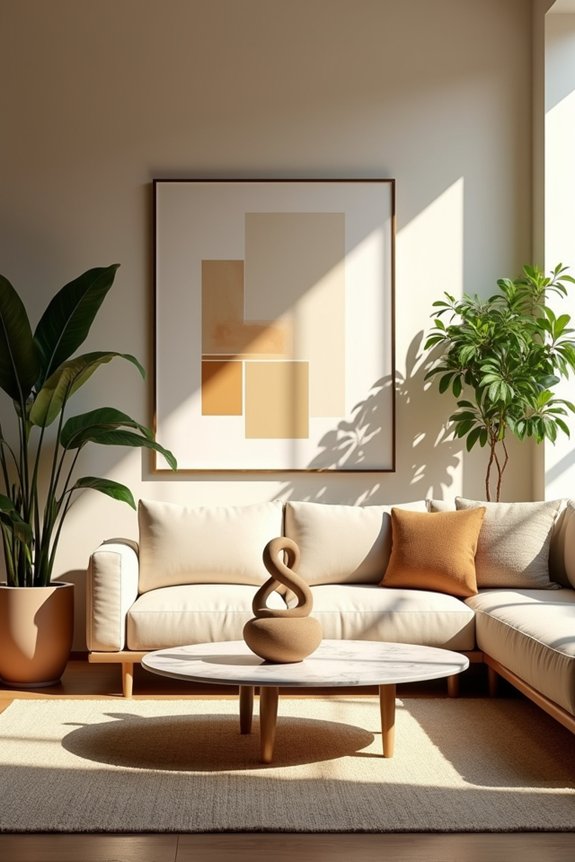
Redesign Your Living Room With AI Design Tools
AI-powered design platforms offer practical solutions for refreshing your living space. These tools analyze your room’s dimensions, lighting, and existing furniture to suggest layouts and decor options that work within your budget and style preferences.
AI-powered design platforms analyze your room’s dimensions and lighting to suggest layouts that fit your budget and style preferences.
Start by uploading photos of your room. The software generates multiple design scenarios, letting you experiment with color palettes, furniture arrangements, and accessories before making any purchases. You can visualize how different pieces interact in your actual space rather than relying on imagination alone.
These platforms typically include features like:
- Virtual furniture placement – See how new pieces fit your room’s proportions
- Color matching – Test paint colors and how they coordinate with existing elements
- Lighting simulation – Understand how different times of day affect your chosen design
- Budget tracking – Monitor spending as you build your design plan
- Shoppable designs – Purchase recommended items directly through integrated retailers
The advantage lies in reducing guesswork. Rather than buying items that might clash or not fit, you’re working from a detailed visual plan. Many tools let you adjust recommendations in real-time, so if a suggestion doesn’t align with your vision, you can modify it immediately.
Whether you’re reorganizing with what you already own or planning a complete refresh, AI design tools provide concrete direction. They serve as a second set of eyes, offering ideas based on current design principles while keeping your specific space and constraints in mind.
VisualizeAI: Customizable Renders for Precise Control
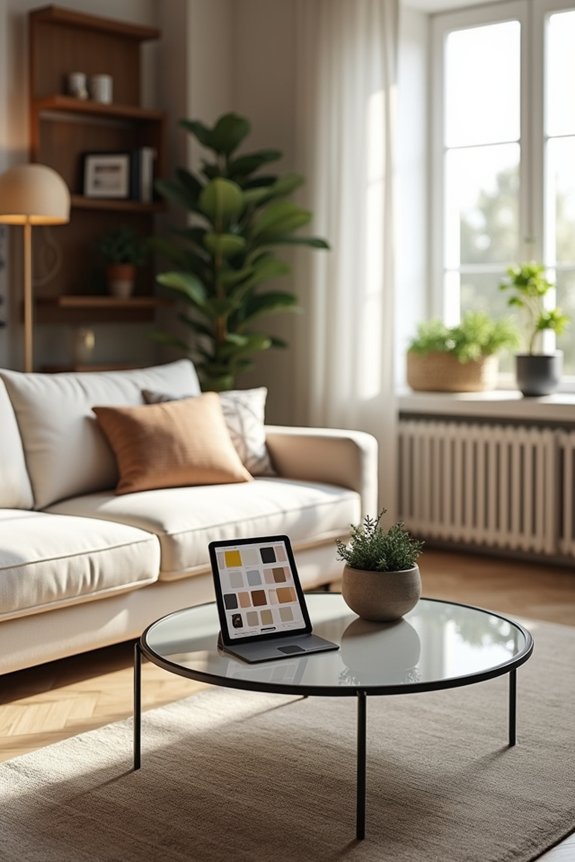
What if you could stop second-guessing yourself before dropping $400 on a sectional that might look like a beached whale in your actual living room?
VisualizeAI solves that problem. You upload your space—existing photo, sketch, whatever—then apply room presets and style filters with text prompts to add or remove elements. Want to banish that harsh overhead lighting? Exclude it. Hate cabinet hardware? Gone. This AI interior design tool lets you customize renders with surgical precision.
| Feature | Benefit | Best For |
|---|---|---|
| Text prompts | Total control | Specific visions |
| Preset styles | Quick starting point | Indecisive folks |
| Exclusion options | Refined aesthetics | Detail obsessives |
| Multi-input support | Flexibility | Everyone |
| $19/month | Professional renders | Serious planners |
You’re not paying for guesswork anymore—you’re investing in confidence.
RoomsGPT: Fast AI Tools for Full-Room Redesigns
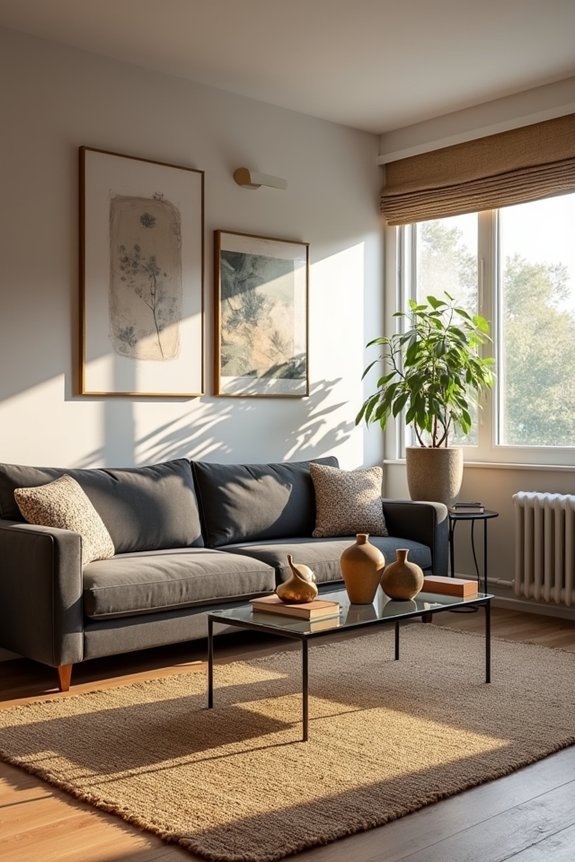
While VisualizeAI demands the precision of a surgeon, RoomsGPT takes the opposite approach—it’s all-in on speed and sprawl, which means you upload a photo, click a button, and boom, two completely reimagined rooms materialize like you’ve hired a designer who works at light speed.
Here’s what makes this AI interior design tool different:
- Two instant renders per prompt—no waiting around
- Designer inspiration from Nate Berkus to Joanna Gaines
- Free unlimited visualizations for indecisive folks like me
- Room design tools covering interiors and exteriors
- Helpful for identifying what you actually like versus what your mom insists works
The catch? Some renders blur into impressionism, and your kitchen design might ignore actual measurements. But for discovering style preferences without overthinking? RoomsGPT delivers.
HomeVisualizerAI: Professional Renders for Design Pros
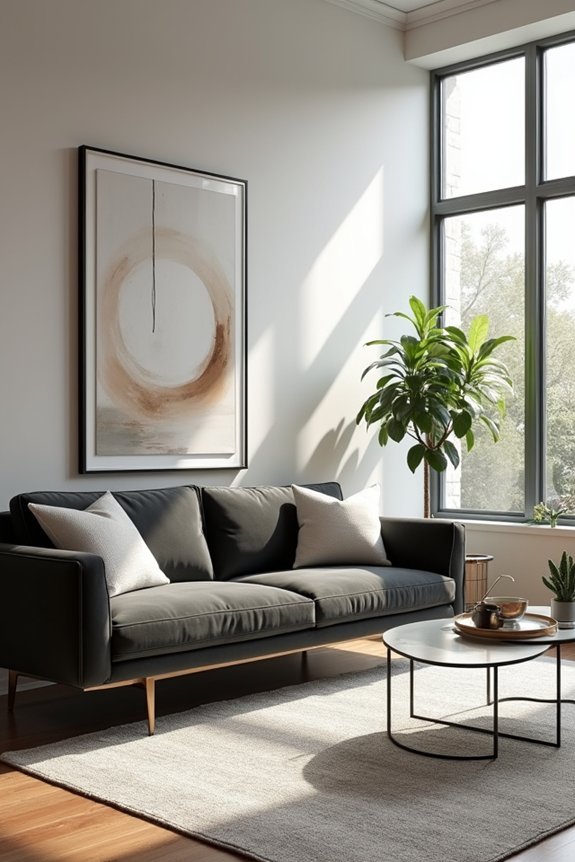
If RoomsGPT’s the espresso shot of AI design—fast, fun, slightly chaotic—then HomeVisualizerAI’s the carefully crafted latte you’d actually pay $8 for. This platform delivers professional-grade renders that look like you hired an actual designer, not just threw inspiration boards at an algorithm. I input my living room’s dimensions, grab a Pinterest image I’m obsessed with, add text specifics—”warm oak, less Pinterest maximalism, more ‘my parents won’t judge'”—and watch it develop. The creativity-fidelity slider lets me dial between wild experimentation and grounded reality. Google Lens integration means I can actually *buy* what appears on screen. Sure, occasionally AI gets weird with proportions, but the output reads as polished, deliberate spaces. For design enthusiasts who speak the language fluently, this AI interior design tool brings your vision into something genuinely professional.
RoomGPT: One-Photo Designs Loved by 4M Users
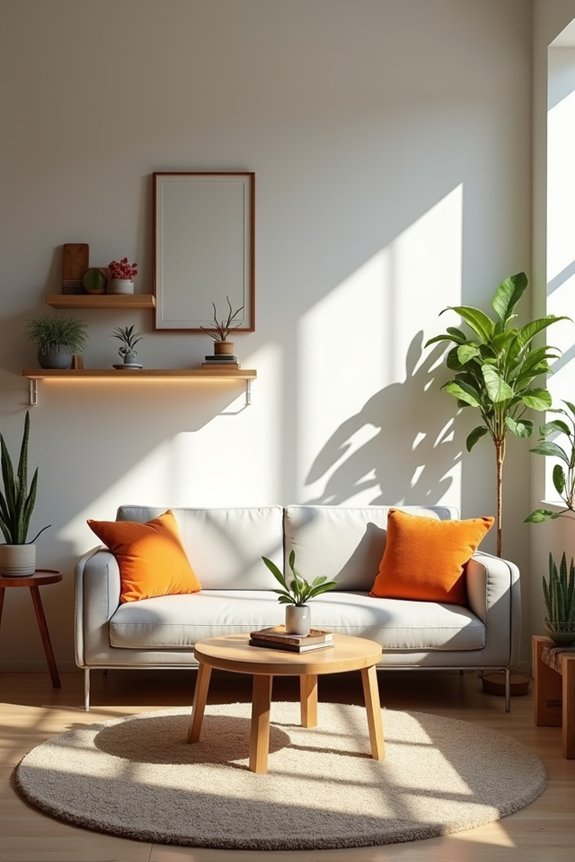
How’s this for a design approach: you snap a photo of your living room—ketchup stain on the throw pillow, Chuck E. Cheese cups scattered about—and AI interior design does the heavy lifting. RoomGPT turns room images into polished iterations without the professional price tag.
Here’s what makes it work:
- Upload one photo, get two instant design concepts
- Choose your room type and desired style effortlessly
- Explore multiple options without hiring a designer
- Access a retro-inspired interface that doesn’t require a PhD
- Join 4 million users who’ve ditched design paralysis
Sure, you’ll occasionally battle upload hiccups with larger images, and sometimes the renders get a bit blurry around edges. But for quick visualization? This tool delivers. You’re getting beginner-friendly, accessible AI interior design that actually lets you play without the stakes.
Photo Specs That Render Best
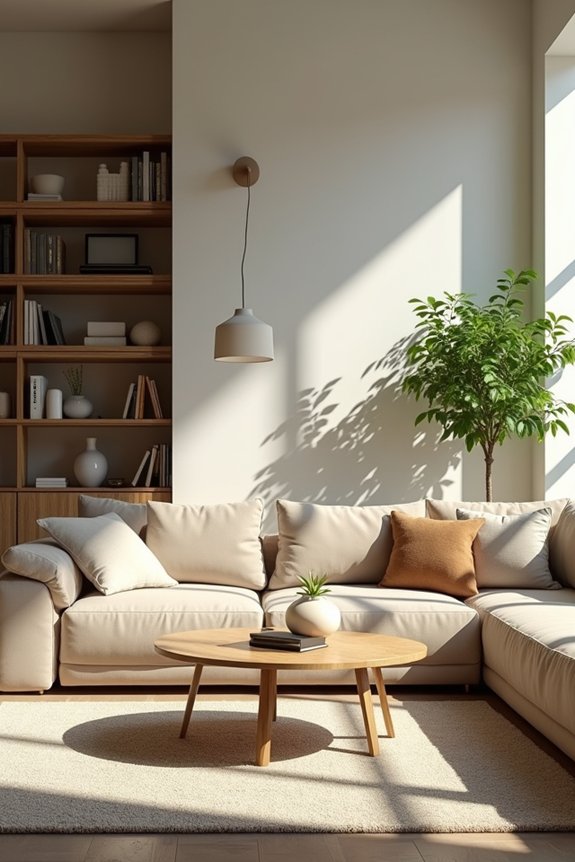
I learned the hard way that uploading a blurry photo of my couch (taken at 11 PM under a single lamp, properly) doesn’t yield the results I’d imagined—turns out AI needs what designers call “good lighting and minimal glare” to actually see what it’s working with. Your image dimensions matter too; I once tried uploading a photo so massive it crashed the platform, which felt like my living room’s way of rejecting help entirely. Clear shots showing walls, flooring, and existing furniture without the clutter of yesterday’s Chuck E. Cheese cups scattered across the coffee table? That’s the sweet spot where the AI can actually understand your space and work effectively.
Image Quality Requirements
Resolution sweet spot: 2–5 megapixels work best—not your blurry iPhone 6 photo, not a professional 50MB file
File size: Keep it 5–10 MB maximum for reliable processing
Lighting consistency: Avoid mixed sources or harsh shadows that confuse the algorithm
Clear perspective: Straight-on or slightly angled shots with minimal lens distortion preserve proportions
Minimal clutter: Empty or lightly furnished rooms reduce AI misinterpretation—no ketchup-stained couches or Chuck E. Cheese cups cluttering your shot
Well-lit, clean photos let the AI actually see your space instead of working through visual noise. It’s the difference between your decorator working with blueprints versus squinting at a blurry vacation snapshot.
Optimal Photo Dimensions
Now that you’ve got your room photo in shape—clean, well-lit, and properly framed—there’s one more technical requirement before the AI can work: dimensions.
I learned this the hard way. I’d upload these massive images thinking bigger meant better, only to watch RoomsGPT choke like my dad trying to assemble IKEA furniture. Turns out, respecting upload limits isn’t optional—it’s required. Smaller, image-based files render clearer iterations and actually process without failing.
Think of it this way: you’re not just feeding the AI a photo; you’re giving it instructions in a language it understands. Start with something manageable—nothing that’d make your computer fans scream. The AI doesn’t need a 4K masterpiece of your ketchup-stained couch. It needs clarity and compliance.
Sharp renders beat bloated ones every time.
Text Prompts and Style Presets
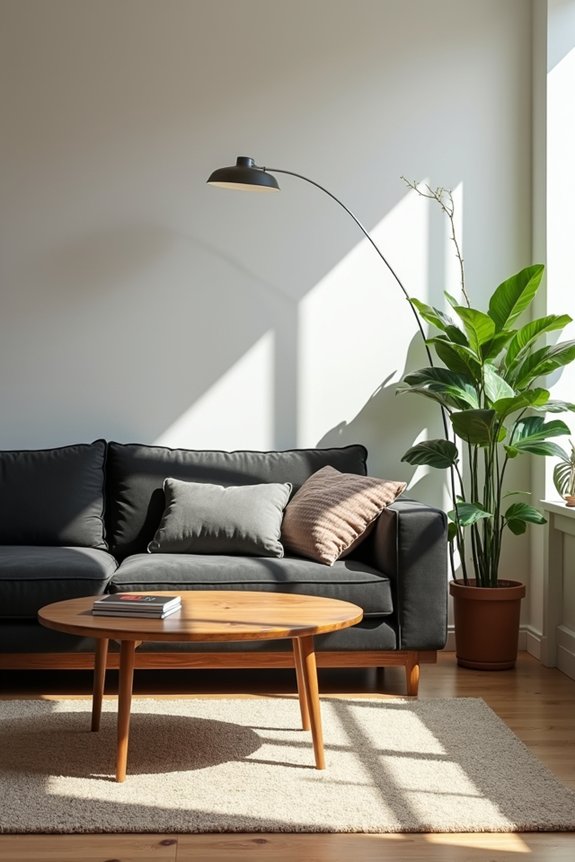
What separates a mediocre room redesign from one that actually captures your vision? Text prompts and style presets—the dynamic duo I wish I’d discovered before my living room looked like a furniture store exploded.
Here’s what makes VisualizeAI work:
- Style presets establish your room’s personality instantly
- Text prompts let you specify exactly what to exclude (harsh lighting, chunky cabinet hardware)
- You can add elements strategically without starting over
- Refinements happen conversationally, not through cryptic settings
- Results feel personalized, not AI-generated sterile
I used to describe rooms in rambling sentences—basically narrating my Pinterest boards aloud. Now I have actual direction. You’re not guessing anymore; you’re collaborating with intelligent design tools that understand what “cozy but not grandma’s living room” actually means. That’s part of a smarter design process.
5 Rendering Mistakes and Fixes
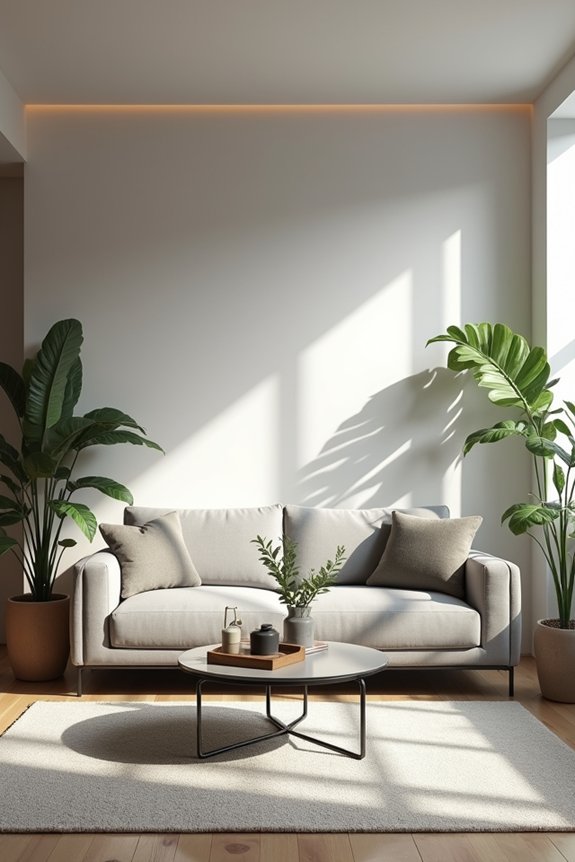
Ever stared at an AI render that looked absolutely nothing like what you’d imagined—like your living room had been replaced by a wax museum version of itself?
I’ve been there. My biggest rendering mistakes? Over-smoothed textures that made my fabric look like plastic, harsh lighting that turned everything hospital-fluorescent, and furniture placements that screamed “amateur hour.”
Here’s what actually works: adjust lighting first—it changes perceived color and depth dramatically. Then fiddle with furniture. I learned this the hard way after my AI interior design tool rendered my couch looking like melted butter.
Start simple with your room type and style, then layer refinements gradually. Avoid ambiguous prompts; use specific exclusions instead. Skip harsh light. Ditch the chrome hardware. These concrete tweaks prevent your living room from morphing into Chuck E. Cheese’s fever dream.
Free vs. Premium: What Each Tool Costs
Once you’ve nailed down your renders, though, there’s the small matter of actually paying for them—and I’ll be honest, that’s where the sticker shock hit me. Here’s what you’re actually looking at:
- VisualizeAI: Free first prompt, then $19/month
- RoomsGPT: Completely free with two renders per prompt
- HomeVisualizerAI: Three free renders, then $12/month subscription
- REimagineHome, Homevisualizer.ai, Spacely: Premium options for serious decorators
- Advanced features: Style fusion and image editing locked behind paywalls
Most tools dangle that free carrot—a couple renders to hook you—before the subscription kicks in. It’s smart marketing, really. I found myself addicted to regenerating renders like I’m scratching lottery tickets. The real cost? Realizing you’ll pay monthly for that dopamine hit of “what if?”
Iterate Faster: Mood Boards to Client Mockups

I used to spend weeks ping-ponging mood boards back and forth with clients—Pinterest screenshots, fabric swatches, the whole circus—only to hear “Actually, can we try warmer lighting?” and watch everything collapse like a house of cards (or worse, a Chuck E. Cheese cup knocked over on my sketches). Spacely flips that frustration on its head by letting me generate photorealistic renders in 45 seconds, tweak the lighting or swap out that questionable sectional without nuking my original concept, and actually show clients what their space will *feel* like instead of asking them to imagine it. It’s the difference between my mom saying “I love this design” while simultaneously suggesting we paint the accent wall beige—at least now I can prove the vision works before she changes her mind.
Streamlining Design Concept Development
How’d you like to skip the part where you spend three weeks manually assembling Pinterest boards, only to have your client reject everything because they suddenly decided they’re “more of a minimalist”?
AI interior design tools eliminate that nightmare. Here’s what changes:
- Input your living room photo—boom, instant mood boards materialize
- Overlay text prompts (“coastal but make it moody”) and watch iterations multiply
- Access designer presets from Nate Berkus to Joanna Gaines without copying their aesthetic homework
- Regenerate concepts in minutes instead of marathon design sessions
- Free tiers let you explore dozens of directions before committing budget
You’re basically getting a design partner who doesn’t ghost you mid-project. The two-step workflow—initial AI concepts followed by targeted refinements—compresses weeks into hours. Your clients get rapid-fire options aligned with their taste. You stop feeling like you’re guessing blindfolded. Everyone wins.
From Vision to Presentation
Why do we pretend mood boards—those chaotic Pinterest collages we’ve been assembling for weeks—somehow magically transform into client presentations that don’t look like we grabbed them from a fever dream?
They don’t. Not without AI interior design tools like Spacely.
Here’s what actually happens: I upload my sketchy room photo, fiddle with lighting until it stops looking like a hostage situation, swap in furniture that won’t mysteriously accumulate ketchup stains within days, and boom—photorealistic renders materialize in 45 seconds. No more showing clients blurry inspiration images and hoping they squint the right way.
The magic isn’t pretending anymore. It’s iterating relentlessly, watching my vision sharpen from “Pinterest fever dream” into something genuinely presentable. Finally.
Where AI Fails: Accuracy, Textures, and Spatial Logic

Despite their impressive marketing claims, AI decorating tools stumble hard regarding the unglamorous reality of actual rooms—and I’ve got the screenshots to prove it.
Here’s where they genuinely falter:
- Textures fall flat – fabrics look blurred, synthetic, unconvincing
- Spatial logic breaks down – furniture scales don’t match actual measurements
- Details misalign – countertops and hardware vanish between views
- Lighting requires endless tweaking – shadows and colors demand multiple iterations
- Material accuracy varies wildly – some tools excel conceptually, bomb on photorealism
I’ve spent hours refining prompts, watching my living room morph into something resembling a Chuck E. Cheese fever dream. The AI nails the *idea*, sure. But ask it to render convincing linen textures or spatial flow that actually works? That’s where the problems start. We’re still waiting for tools that truly understand rooms aren’t just pretty pictures—they’re functional spaces where humans actually exist.
Pick Your Tool in 60 Seconds
So you’ve scrolled through those nightmarish AI renderings—the ones where your couch phases through walls like a ghost—and you’re ready to actually pick a tool that won’t humiliate you in front of your interior-designer friend.
Here’s the thing: you’ve got maybe a minute before decision paralysis kicks in. VisualizeAI lets you upload sketches or floor plans, then charges $19/month after your free trial. RoomsGPT gives you two renders per prompt across multiple room types—dead simple. But if you want actual control over your AI interior design and room layouts? HomeVisualizerAI’s your pick. Text prompts, style fusion, polished results. REimagineHome, HomeVisualizer.ai, and Spacely deliver realistic output. Pick whichever matches your chaos level, upload something, and stop second-guessing yourself.